Introduction: Why Waterproofing Worn Boots is Crucial for Winter
Winter hiking brings breathtaking views and challenging conditions. Nothing sours a cold-weather adventure faster than wet, freezing feet. While a new pair of waterproof boots is ideal, investing in them isn’t always feasible or necessary if your current hiking boots are still structurally sound but have lost their water repellency. Properly re-waterproofing your worn boots can extend their life and keep your feet dry and warm through snow, slush, and puddles, making your winter excursions far more enjoyable and safe.
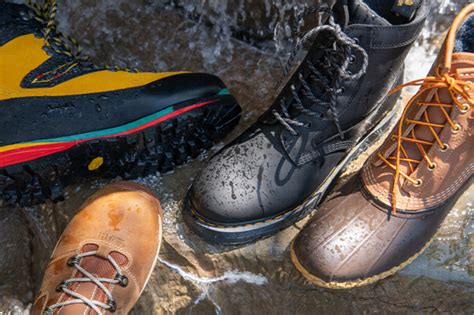
Understanding Your Boots’ Material and Condition
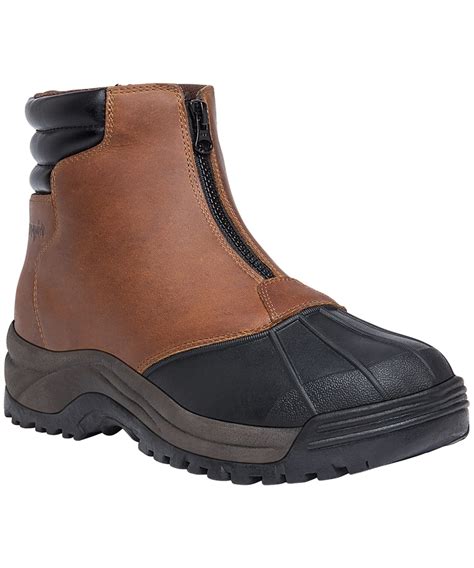
Before you even think about applying a waterproofing treatment, it’s vital to understand what your boots are made of and their current state. Different materials—full-grain leather, nubuck, suede, synthetic fabrics, or a combination—require specific care and products. Assess if there are any significant tears, delaminations, or worn-out seams that might compromise the boot’s integrity, as waterproofing alone won’t fix structural damage.
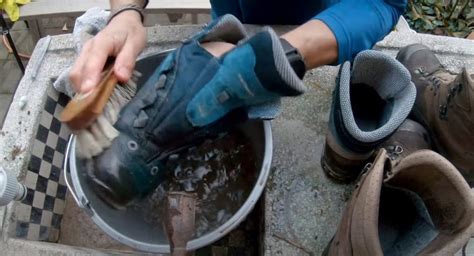
Step 1: Thorough Cleaning – The Foundation of Effective Waterproofing
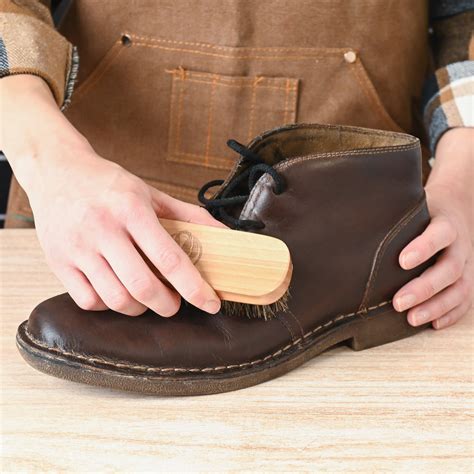
You can’t effectively waterproof dirty boots. Accumulated mud, dirt, and old waterproofing treatments will prevent new products from adhering properly. Start by removing the laces and insoles. Use a stiff brush to scrub off loose dirt and mud. For stubborn grime, a dedicated boot cleaner or a mild soap solution (like dish soap diluted with water) and a sponge or soft brush will work. Rinse thoroughly with clean water, ensuring all soap residue is gone. Allow the boots to air dry completely in a well-ventilated area, away from direct heat, which can damage materials like leather.
Step 2: Minor Repairs and Preparation
Once clean and dry, inspect your boots closely. Are there any loose stitches? Small scuffs or nicks? If your boots have a leather upper, a leather conditioner can help restore its suppleness before waterproofing. For minor seam separation, a flexible adhesive designed for footwear can provide a temporary fix. Address these small issues now to create the best possible surface for your waterproofing treatment.
Step 3: Choosing the Right Waterproofing Product
This is where understanding your boot material truly pays off. Using the wrong product can damage your boots, reduce breathability, or simply be ineffective.
For Full-Grain Leather Boots:
- Waxes and Greases: These are excellent for nourishing leather and creating a durable water barrier. They penetrate the leather, keeping it supple while effectively repelling water. Brands like Nikwax, Sno-Seal, and Granger’s offer great options. Be aware that waxes can darken leather and reduce its breathability slightly, but they offer superior waterproofing.
- Conditioning Creams: Some creams offer waterproofing properties while primarily conditioning the leather, maintaining its look and feel.
For Nubuck, Suede, and Synthetic Fabric Boots:
- Sprays and Brush-On Treatments: These are ideal for materials where you want to maintain breathability and texture, or for boots with a Gore-Tex/eVent liner. These treatments typically form a durable water repellent (DWR) finish on the surface without clogging pores. Nikwax TX.Direct and Granger’s Performance Repel are popular choices.
Always check the product’s label to ensure it’s compatible with your specific boot materials, especially if your boots have a waterproof-breathable membrane (like Gore-Tex or eVent). These membranes require treatments that won’t block their microscopic pores, ensuring your feet stay dry from the inside out.
Step 4: Applying the Treatment Correctly
Follow the manufacturer’s instructions carefully, as application methods vary between products. Generally, for waxes and creams:
- Apply a small amount to a clean, dry cloth or directly to the boot.
- Work it into the leather in small circular motions, ensuring even coverage, paying extra attention to seams and areas of high wear.
- Allow it to soak in, then buff off any excess. Multiple thin coats are often better than one thick one.
For sprays and brush-on treatments:
- Apply to a clean, damp boot for best absorption (check product instructions, some prefer dry).
- Spray or brush evenly over the entire outer surface.
- Remove any drips with a clean cloth.
- Allow to air dry completely.
Many products recommend a second coat after the first has dried, especially for heavily worn areas. Ensure the boots are fully dry before use – this can take 24-48 hours depending on the product and humidity.
Step 5: Don’t Forget the Details and Ongoing Maintenance
Pay close attention to all seams, stitching lines, and the area where the sole meets the upper – these are common points of water ingress. The tongue and gusseted areas also need attention. Re-lace your boots with fresh, water-resistant laces if needed.
Waterproofing isn’t a one-time fix. How often you reapply depends on how frequently you use your boots and the conditions you encounter. A good rule of thumb is to re-waterproof at the beginning of each winter season, or whenever you notice water no longer beads up on the surface and starts soaking in. Regular cleaning after each use also helps maintain the waterproofing and prolong the life of your boots.
Conclusion: Ready for Winter Adventures
With a little time and the right products, your trusty, worn hiking boots can be revitalized and made ready to tackle winter’s challenges. By thoroughly cleaning, assessing, and applying the correct waterproofing treatment, you’ll ensure your feet remain dry, warm, and comfortable, allowing you to fully enjoy the beauty of the winter trails. Don’t let wet feet cut your winter adventures short!